


Step Twelve: Soil wetter on top
If you are using it, sprinkle some soil wetter around the base of the tree over the root zone. This means water will penetrate the soil better instead of just running off.
Step Thirteen: Water
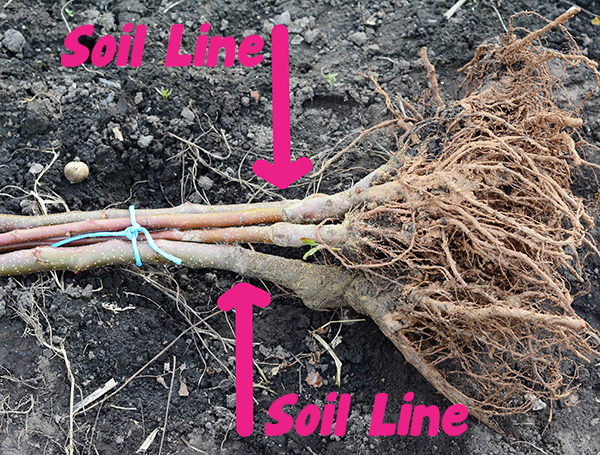
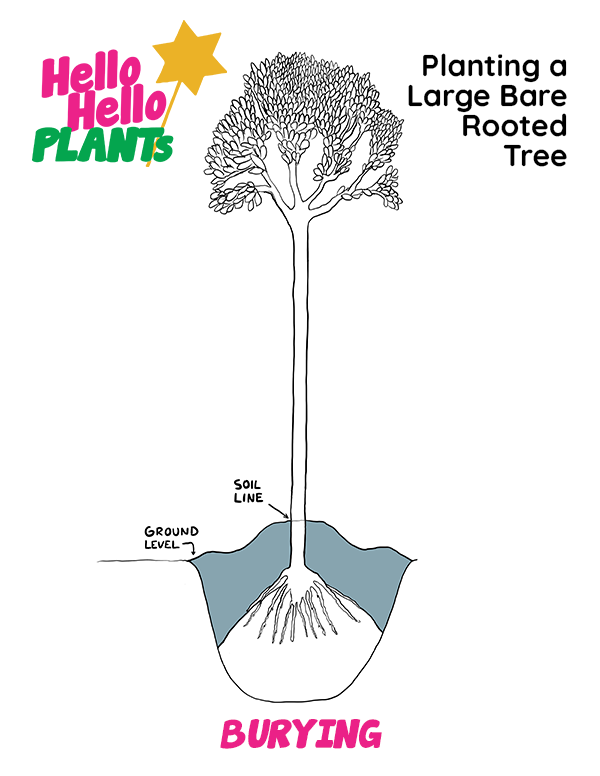
Water in well to help the soil settle around the roots. No roots should be exposed, so add some more soil on top if needed.
Step Fourteen: Mulch
Mulch well, keeping the mulch a minimum of 10cm away from the base of the trunk. Pine bark mulch is a good choice, as it improves the soil as it breaks down.
A note on fertilizing bare rooted trees
Just as you wouldn’t eat a big roast lamb dinner while you are asleep, winter is not the usual time to fertilise most plants. This is because they are totally dormant or have really slowed down their growth. Fertilizing your bare rooted tree is left off these planting steps because you are probably buying and planting bare rooted trees in winter.
However, your bare rooted tree sure will appreciate fertilising when it springs to life in spring, so you should remember to do this if possible.
There is one exception to not fertilising your bare rooted tree, which is also a very handy trick. If you are planting in the later part of winter, (late July or August in Melbourne) you can use a slow release fertiliser at the time of planting. These are designed to gradually put nutrients into the soil over an extended period, and will time very well with spring’s arrival.
Plants actually start waking up and getting active at the end of winter, before we can easily see the obvious signs like flowers and leaves. Use something like Osmocote or Charlie Carp Slow Release Fertiliser.
If planting a bare rooted tree near the end of winter, fertilising goes before the mulching step. Follow the instructions on the packet.
Bare rooted trees available this winter
-
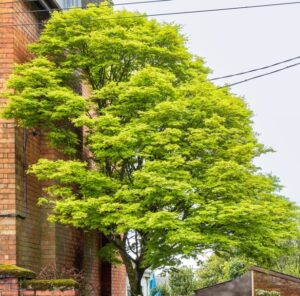
Acer palmatum ‘Japanese Maple’ 3ft (Bare Rooted)
0Original price was: $49.99.$19.99Current price is: $19.99. -
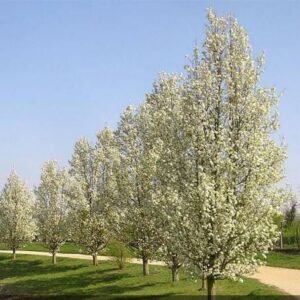
Pyrus ‘Cleveland’ Ornamental Pear Tall (Bare Root)
0Original price was: $89.99.$44.99Current price is: $44.99. -
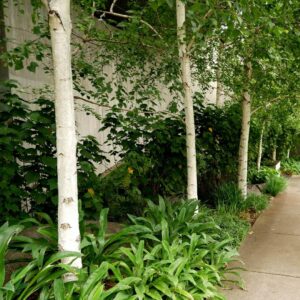
Betula pendula ‘Silver Birch’ (Bare Rooted)
0Original price was: $49.99.$12.99Current price is: $12.99. -
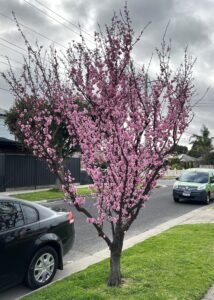
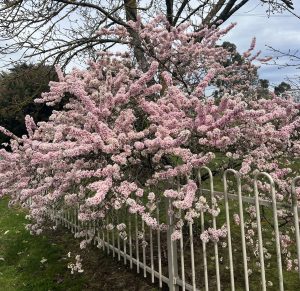
Prunus x blireana ‘Pink Plum Blossom’ (Bare Rooted)
0Original price was: $129.99.$39.99Current price is: $39.99. -
Pyrus ‘Cleveland’ Ornamental Pear Small (Bare Rooted)
0Original price was: $49.99.$32.99Current price is: $32.99. -
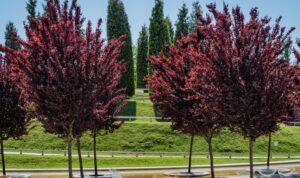
Prunus ‘Nigra’ Purple Leaf Flowering Plum (Bare Rooted)
0Original price was: $129.99.$39.99Current price is: $39.99. -
-
-
-
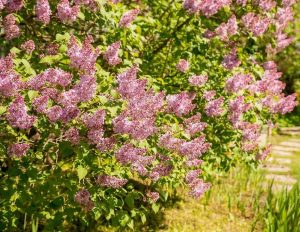
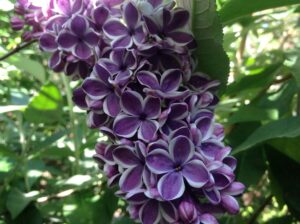
Syringa ‘Katherine Havemeyer’ Lilac (Bare Rooted)
0Original price was: $69.99.$29.99Current price is: $29.99. -
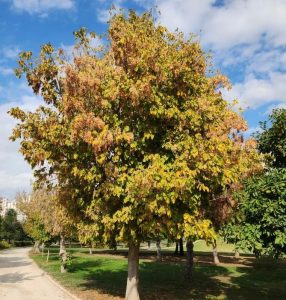
Fraxinus ‘Claret Ash’ Tree (Bare Rooted)
0Original price was: $49.99.$26.99Current price is: $26.99. -
Pyrus ‘Manchurian’ Ornamental Pear (Bare Rooted)
0Original price was: $69.99.$49.99Current price is: $49.99. -
Prunus ‘Elvins’ Flowering Plum (Bare Root)
0Original price was: $129.99.$39.99Current price is: $39.99. -
-
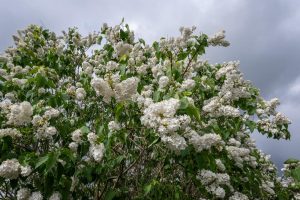
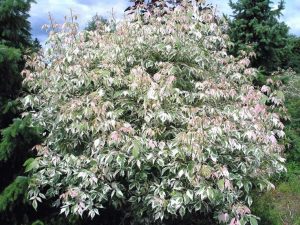
Syringa ‘Sweetheart’ Lilac (Bare Rooted)
0Original price was: $69.99.$29.99Current price is: $29.99. -
Syringa ‘Cora Brandt’ Lilac (Bare Rooted)
0Original price was: $69.99.$29.99Current price is: $29.99. -
Acer ‘Pink Flamingo’ Japanese Maple (Bare Rooted)
0Original price was: $89.99.$32.99Current price is: $32.99. -
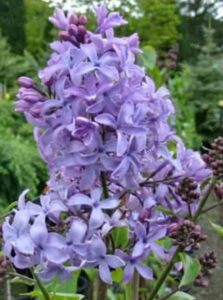
Syringa ‘Blue Hyacinth’ Lilac (Bare Root)
0Original price was: $69.99.$29.99Current price is: $29.99. -
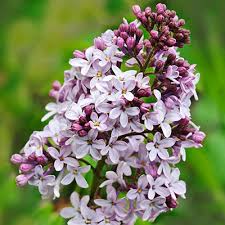
Syringa ‘Alice Eastwood’ Lilac (Bare Root)
0Original price was: $69.99.$29.99Current price is: $29.99. -
Syringa ‘Belle de Nancy’ Lilac (Bare Root)
0Original price was: $69.99.$29.99Current price is: $29.99. -
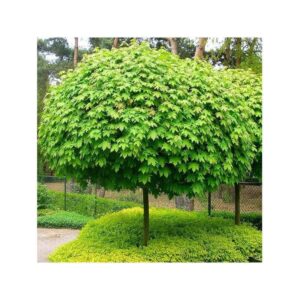
Acer platanoides ‘Globosum’ Designer Maple (Bare Root)
0Original price was: $199.99.$89.99Current price is: $89.99. -
-
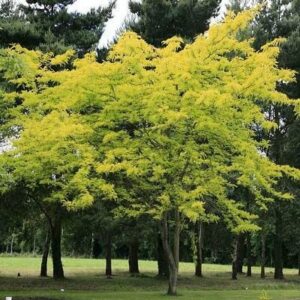
Acer ‘Kelly’s Gold’ Maple (Bare Rooted)
0Original price was: $99.99.$49.99Current price is: $49.99.


-
-
-
-
Morus nigra ‘Hicks Fancy’ Mulberry (Bare Rooted)
0Original price was: $79.99.$59.99Current price is: $59.99. -
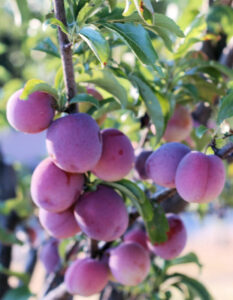
Prunus ‘Santa Rosa’ Plum Dwarf (Bare Rooted)
0Original price was: $79.99.$59.99Current price is: $59.99. -
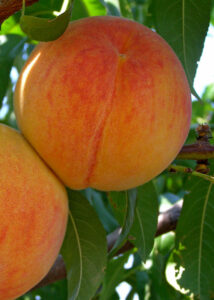
Prunus ‘Trevatt’ Apricot Dwarf (Bare Rooted)
0Original price was: $69.99.$59.99Current price is: $59.99. -
Prunus ‘A-Okay™’ Dwarf Plum (Bare Rooted)
0Original price was: $89.99.$59.99Current price is: $59.99. -
Prunus ‘Storey’ Apricot Dwarf (Bare Rooted)
0Original price was: $69.99.$59.99Current price is: $59.99. -
Prunus ‘Satsuma’ Plum Dwarf (Bare Rooted)
0Original price was: $89.99.$59.99Current price is: $59.99. -
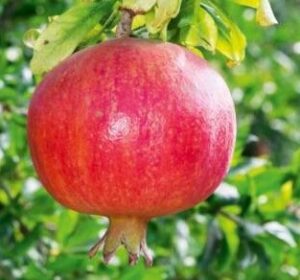
Punica ‘Mollar de Elche’ Pomegranate (Bare Rooted)
0Original price was: $99.99.$49.99Current price is: $49.99. -
-
-
Prunus ‘Mariposa’ Plum Dwarf (Bare Rooted)
0Original price was: $89.99.$59.99Current price is: $59.99. -
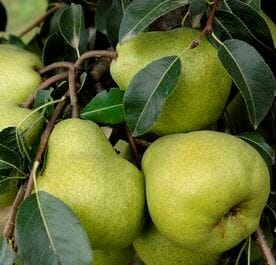
Pyrus ‘SunGold™’ Dwarf Pear (Bare Rooted)
0Original price was: $89.99.$69.99Current price is: $69.99. -
Cydonia ‘Champion’ Quince (Bare Rooted)
0Original price was: $79.99.$49.99Current price is: $49.99. -
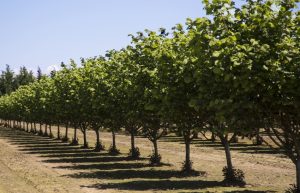
Corylus ‘Hall’s Giant’ Hazelnut (Bare Rooted)
0Original price was: $79.99.$49.99Current price is: $49.99. -
Prunus ‘King Billy’ Plum Dwarf (Bare Rooted)
0Original price was: $89.99.$59.99Current price is: $59.99. -
Pyrus ‘Packham Triumph’ Pear Dwarf (Bare Rooted)
0Original price was: $79.99.$69.99Current price is: $69.99. -
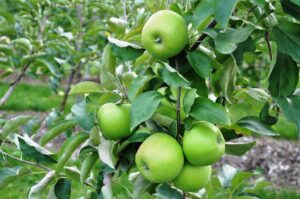
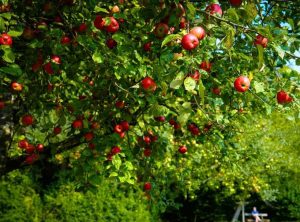
Malus ‘Leprechaun’ PBR Dwarf Apple (Bare Rooted)
0Original price was: $79.99.$59.99Current price is: $59.99. -
Malus ‘Sundowner’ Super Dwarf Apple (Bare Rooted)
0Original price was: $99.99.$69.99Current price is: $69.99. -
Pyrus ‘Red Princess™’ Dwarf Pear (Bare Rooted)
0Original price was: $89.99.$69.99Current price is: $69.99. -
Pyrus ‘Sweet Reward™’ Dwarf Pear (Bare Rooted)
0Original price was: $89.99.$69.99Current price is: $69.99. -
Corylus ‘Barcelona’ Hazelnut Tree (Bare Rooted)
0Original price was: $89.99.$49.99Current price is: $49.99. -
Corylus ‘Wanliss Pride’ Hazelnut (Bare Rooted)
0Original price was: $79.99.$49.99Current price is: $49.99. -
-
Malus ‘Pomme de Neige’ Dwarf Apple (Bare Rooted)
0Original price was: $69.99.$49.99Current price is: $49.99. -
Prunus ‘Narrabeen’ Plum Dwarf (Bare Rooted)
0Original price was: $79.99.$59.99Current price is: $59.99. -
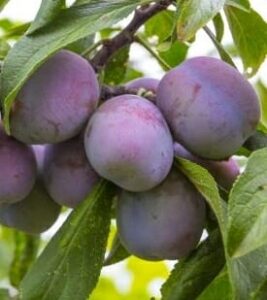
Prunus ‘Elephant Heart’ Plum Dwarf (Bare Rooted)
0Original price was: $89.99.$59.99Current price is: $59.99. -
Prunus ‘Spring Satin™ Plumcot’ Dwarf (Bare Rooted)
0Original price was: $89.99.$59.99Current price is: $59.99. -
Prunus ‘Tilton’ Apricot Dwarf (Bare Rooted)
0Original price was: $89.99.$59.99Current price is: $59.99. -
Malus ‘Pinkabelle’ PBR Dwarf Apple (Bare Root)
0Original price was: $79.99.$59.99Current price is: $59.99. -
-
Malus ‘Monty’s Surprise®’ Dwarf Apple (Bare Rooted)
0Original price was: $79.99.$59.99Current price is: $59.99.